



Yoga for the Wrist: Preventative Exercises for Downward Dog
Downward facing dog quietly holds a yoga practice together, appearing again and again across every sun salutation and serving as a rest pose in its own right. The trouble is that this beloved shape asks a great deal of the small joints at the base of the palm. Across Australia, students from Newtown to Northcote adore downward dog but quietly wince each time they press up into it. The wrist is not designed to bear half your body weight; with a little preparation, however, it can learn to share it comfortably.
Australia's yoga scene has long encouraged a near-daily home practice, particularly in coastal pockets such as Byron Bay, Fremantle and the Mornington Peninsula. Many people unroll the mat in the lounge room before heading out to arvo work, school pick-up, or a walk along the beach. That regularity is wonderful, yet it also means that repetitive load on the wrist adds up quickly. Treating the wrist as part of your practice, rather than just a tool, helps you stay on the mat for years rather than weeks.
This piece is for anyone who loves downward dog and wants to keep loving it. We will look at how the wrist works in the pose, simple preventative exercises you can weave into the start of class or a quiet morning at home, and small alignment tweaks that make a noticeable difference. None of the drills require anything fancier than a yoga mat and a flat surface, and most can be done while the kettle boils or before you head out the door.
Why the wrist takes the strain in downward dog
When you place your palm flat on the ground and step your feet back, around fifty to seventy percent of your body weight travels through the small bones of the wrist. That is a remarkable demand for a joint that has evolved for grasping and fine motor tasks rather than weight-bearing. Over hundreds of classes, that load can compress the carpal tunnel, irritate the tendons along the thumb side, and fatigue the muscles that support the joint.
A few common habits add to the load. Splaying the fingers wide without pressing through the base of each finger lets the weight drop into the heel of the hand and the wrist crease. Locking the elbows straight sends force straight into the joint rather than engaging the muscles around it. Dropping the head between the arms while the shoulders round forward shifts the centre of gravity further onto already-tired wrists. The pose itself is not the enemy; the way we arrive in it often is.
In studios from Brisbane's West End to Adelaide's CBD, teachers regularly remind students to press the floor away. That single cue recruits the muscles of the forearm, lifts the arches of the hand, and lightens the load through the wrist crease. Pair that cue with the drills below and you have a much kinder relationship with the shape.
Listening to your wrists before you press up
A short body scan before class can flag trouble early. Settle onto your back or sit cross-legged for a moment and simply notice the hands. Are the forearms tight? Is there a faint ache at the base of the thumb? Do the fingers feel cold or sluggish? These small signals are easier to hear when the mind is quiet, and far easier to address than a sharp pain mid-class.
How ya going with your practice this week? Many of us across Australia are juggling long commutes, school runs, and early starts, so a quick honest check-in matters more than ever. If the wrists feel grumpy on a Monday morning, the next class is a chance to be gentle rather than heroic. Skip the vinyasa, stay in child's pose, and use the warm-up drills below to coax the joint back online. Pain that lingers beyond a class or two, or that comes with tingling or numbness, deserves a chat with a physiotherapist.
A simple habit that travels well is to roll the wrists through their full range of motion while waiting for the bus or sitting at your desk in Surry Hills. Five slow circles each way keeps the synovial fluid moving and reminds the joint what full range feels like. That tiny ritual costs nothing and pays back across every practice.
Warm-up drills for the wrists
A few minutes spent warming the wrists before weight-bearing transforms the experience of downward dog. These drills are gentle enough to do as soon as you unroll the mat, and they pair beautifully with the breath. Move slowly, breathe softly, and stop if anything pinches.
Drills to try before your first downward dog:
- Wrist circles: interlace the fingers, drop the hands in front of the chest, and draw slow circles in one direction, then the other. Aim for eight to ten each way.
- Prayer stretches: bring the palms together at the heart, then lift the elbows while keeping the palms touching until you feel a stretch through the inner forearms. Hold for five slow breaths.
- Tabletop shifts: come onto all fours and gently rock the weight forwards and back, then in slow circles, so the wrists warm up through their full range.
- Reverse tabletop: sitting with the legs bent, plant the hands behind you with the fingers pointing towards the feet and lift the hips to open the front of the wrists.
Spend two or three minutes on these and you will notice the difference the moment you step back into your first downward dog. The joint feels less surprised, the forearms less cold, and the whole shape steadier.
Building strength and mobility in the small muscles
Warm-up prepares the joint. Strength keeps it healthy. The muscles of the forearm and hand are small but mighty, and they respond quickly to regular, thoughtful loading. Many Australian yoga students already have access to light weights or resistance bands at home, but you do not need them for this work. A full two-litre milk bottle from the supermarket, a tin of tomatoes, or even a firm paperback book can give you enough resistance.
Drills that build resilient wrists:
- Finger spreads: place the palm flat on a table and lift each finger one at a time, then spread all five wide and draw them back together. Repeat ten times each hand.
- Wrist push-ups: from tabletop with bent elbows, lower the body a few centimetres so the wrists bend back, then press up. Five slow reps is plenty.
- Grip holds: carry a heavy bag of groceries from the car to the kitchen with the thumb wrapped firmly around the handle. Notice if the forearms tire quickly; they will, and that is the point.
- Block presses: in downward dog, place a block under one palm and press firmly down through it for five breaths before swapping. The block gives the heel of the hand feedback and wakes up the smaller muscles.
These drills work best when done two or three times a week, outside of class. They pair nicely with a morning routine: a few minutes of finger spreads while the kettle boils, a quick block press after brushing your teeth. Small, regular inputs build stronger joints than occasional heroic efforts.
Small alignment tweaks that change everything
Most of the discomfort in downward dog comes from a few small habits that can be adjusted in a single class. The first is finger placement. Spread the fingers wide, press the tips down, and imagine you are trying to grip the mat. That grip activates the muscles of the hand and lifts the arches, taking pressure out of the wrist crease.
The second is the angle of the wrist. A neutral wrist has the forearm bones stacked over the palm, with the crease facing straight ahead. If the forearm is angled forwards or back, the joint has to absorb more load. Bend the knees generously on first arrival, and let the heels lift. The shape is still downward dog, only kinder.
The third is how long you stay. Holding the full shape for a long time can fatigue the joint, especially early in the morning or after a long day. Cyclists riding from Cottesloe to Fremantle, tradies working with tools in the Pilbara, and parents carrying children on one hip all bring tired forearms to class. For these moments, lower the knees, take a wider stance, or simply come down to the forearms for a few breaths. The shape is a tool, not a test.
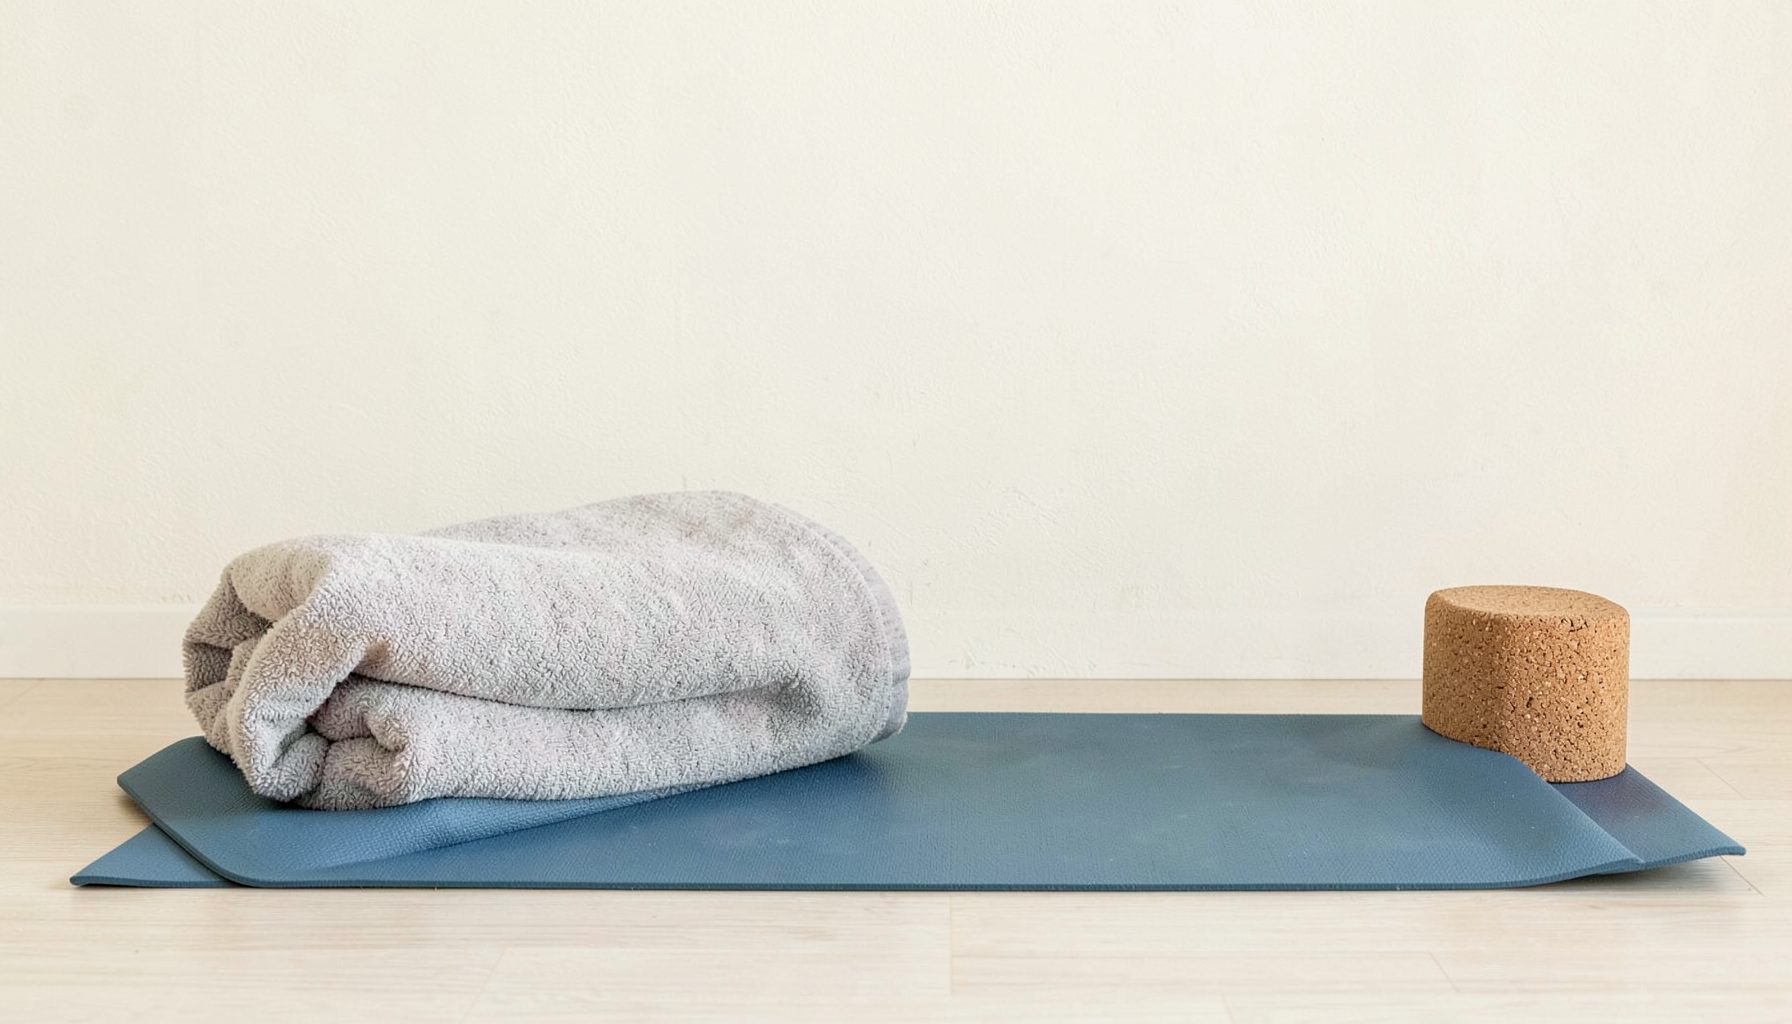
Props help here too. A wedge under the heels of the hands tilts the wrist into a friendlier angle. A folded towel under the palms works just as well. These small supports let you keep the shape while your wrists catch up with the rest of you.
A sustainable wrist-care routine you can keep
Caring for the wrists is not a one-off project. It is a quiet, daily habit that grows stronger with time. Many of my students in Melbourne and Sydney tell me that the moment they slowed down at the start of class, their downward dog felt completely different within a fortnight. The body responds quickly when we listen.
A simple rhythm that travels well is this. Begin each home practice with two minutes of wrist circles and prayer stretches. Add one strengthening drill twice a week, choosing from the list above. End each practice with a few slow tabletop shifts to settle the joint. When life is busy or the body feels flat, the warm-up on its own is enough. There is more on keeping your practice gentle and sustainable in this guide on how to practice yoga when you feel too tired, which pairs well with the wrist work in this article.
If you practise in a studio, arrive five minutes early and do the warm-up quietly in a corner before class begins. If you practise at home, keep a folded towel near the mat so the wedge is always ready. These small systems are what keep a practice alive across decades, not weeks.
Wrist care is one of those quiet practices that repays attention for years. Once the forearms feel warm and the hands feel awake, the rest of the practice tends to follow. There is something deeply satisfying about arriving at downward dog and feeling the wrists greet you instead of grumble.
Set a timer for three minutes before your next class and walk through the warm-up drills above at a slow, considered pace. Notice where the wrists feel sticky or stiff, breathe into those spots, and then step back into your first downward dog with curious attention. That single three-minute pause is the seed of a much kinder relationship with the pose you love.