
Yoga for the Knees: Safe Alignment Tips for Everyday Practice
Knee discomfort can make a familiar yoga pose feel suddenly uncertain. A low lunge, hero pose or wide-legged squat may bring pressure to the joint, while standing postures can reveal habits that are easy to miss when the body feels strong. The aim is not to avoid movement altogether, but to create enough space, support and awareness for practice to remain comfortable.
Knee-friendly yoga begins with listening rather than forcing. Alignment is not a rigid shape that every body must copy. It is a relationship between the feet, ankles, knees, hips and spine, adjusted through props, range of motion and breathing. Small changes often make a greater difference than stretching further.
For Australian practitioners, this may mean adapting after a beach walk, a weekend hike in the Dandenong Ranges, time spent barefoot on hard floors or a long day standing at work. A gentle sequence can support mobility and confidence, but persistent swelling, locking, instability or sharp pain deserves assessment from a qualified physiotherapist or health professional.
Understand What Your Knees Need
The knee is designed to bend and straighten, while the hip and ankle contribute much of the rotation and movement around it. When those neighbouring joints are restricted, the knee may take on more load than it can comfortably manage. This is why knee alignment cannot be separated from foot placement, hip strength and ankle mobility.
A useful starting point is to notice the difference between effort and pain. Muscular work may feel warm, engaged or mildly challenging. Pain that is sharp, pinching, catching, hot or increasingly intense is a reason to reduce the range or come out of the pose. A dull ache that lingers after class also deserves attention rather than being dismissed as proof of progress.
The phrase “knees behind toes” is often repeated as a universal rule, but it is too simple to guide every body. In a supported squat or lunge, the knees may travel forward safely when the movement is controlled and proportionate to the person’s structure. The more useful questions are whether the foot is stable, the knee tracks comfortably and the breath remains easy.
A first practice can be as simple as standing in Mountain Pose and observing whether weight is spread across the heel, the base of the big toe and the base of the little toe. Keep the toes relaxed rather than gripping the mat. This tripod-foot awareness gives the knee a steadier foundation before adding bends or balance work.
Create Stability From The Ground Up
In standing poses, aim for the kneecap to move in the same general direction as the second and third toes. It does not need to point perfectly forward, and the alignment will vary with the shape of the hips. What matters is avoiding an uncontrolled collapse inward or a forced outward twist.
In Warrior II, shorten the stance if the front knee feels strained. Let the front knee bend only as far as the foot can remain grounded and the pelvis can stay reasonably level. Press through the outer edge of the back foot, soften the front ribs and imagine the thigh moving towards the little-toe side without pushing the kneecap sideways.
In Chair Pose, shift some weight towards the heels while keeping the toes light enough to move. The knees may come forward, especially for people with longer legs or limited ankle range, but they should not roll inward. Place a block between the thighs if gentle feedback helps you sense parallel tracking; avoid squeezing so hard that the inner knees become tense.
Lunges are often kinder when the back knee is supported. A folded blanket or cushion under the knee can reduce pressure on a hard studio floor or a community hall mat. Keep the front foot far enough forward that the heel stays down, and use blocks beneath the hands so the torso does not have to pitch heavily into the joint.
Adapt Common Poses With Props
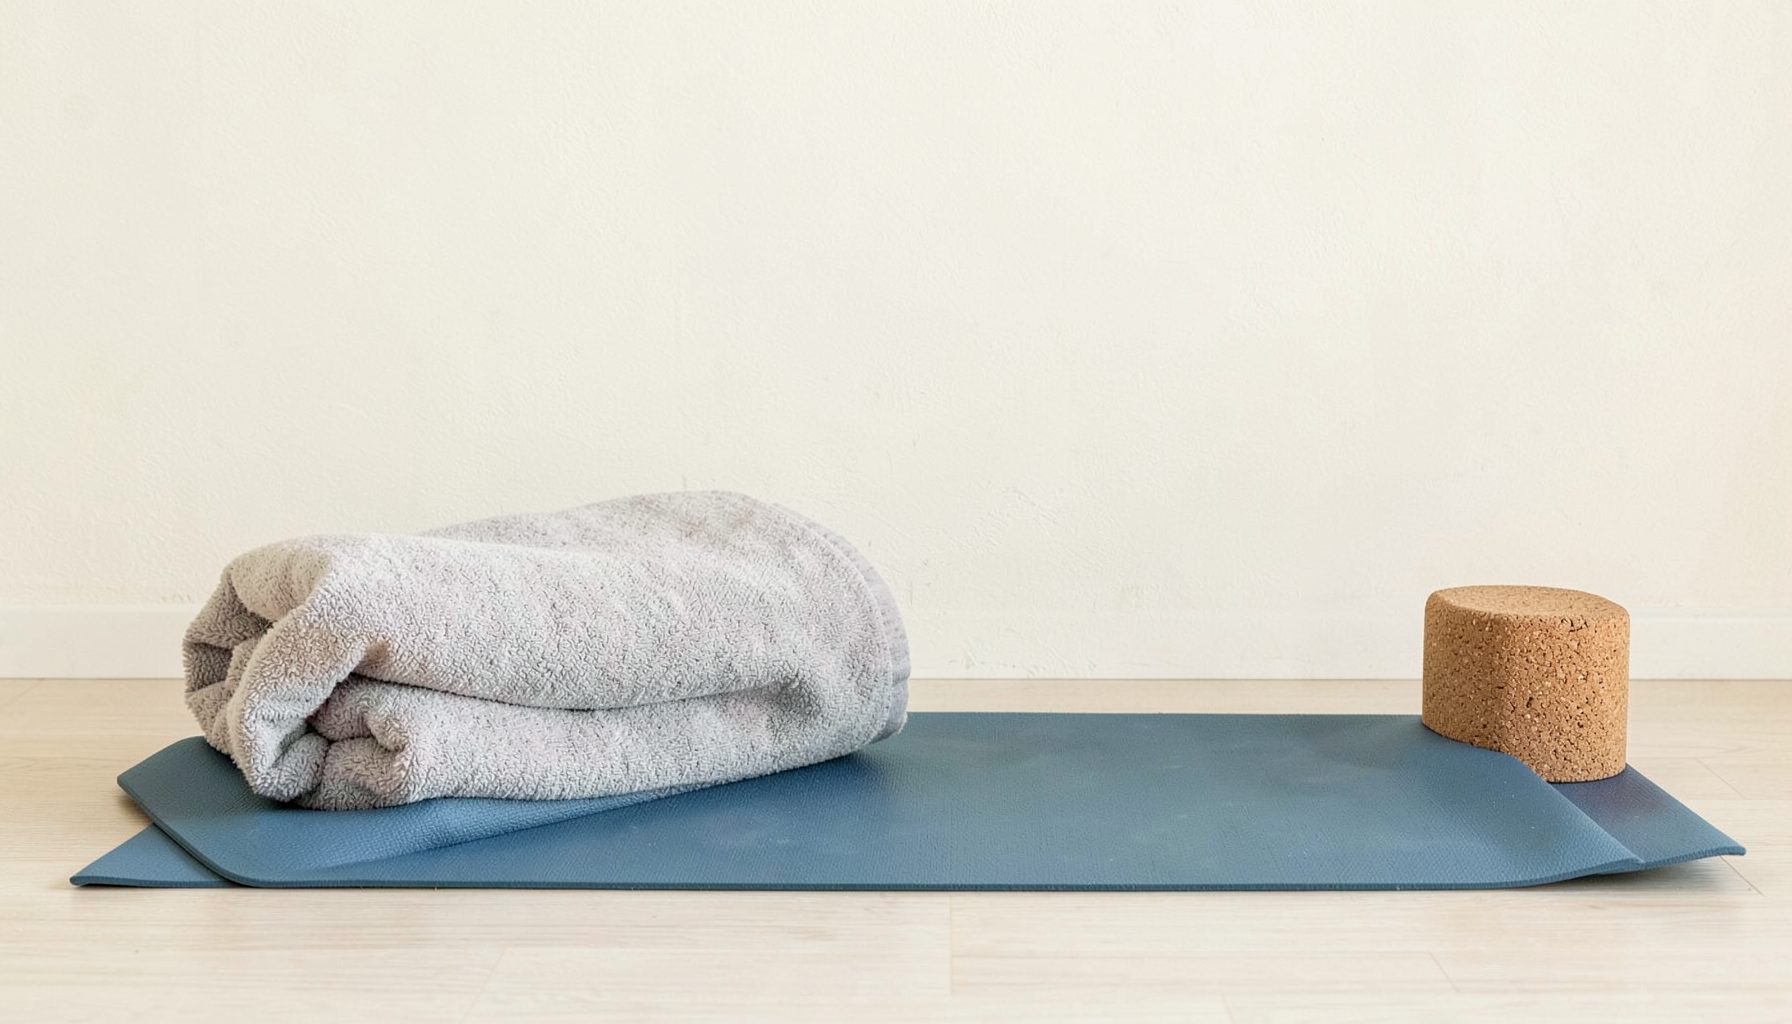
Props are not a sign that a practice is less advanced. They change leverage, reduce unnecessary strain and make it easier to notice what is happening. Australian homes often have timber, tile or polished concrete floors, so a second mat, folded towel or firm blanket can be useful when practising at home rather than in a well-padded studio.
Hero Pose is a clear example. If sitting between the heels creates pressure at the front of the knees, sit on a bolster, stacked blankets or a yoga block placed at a comfortable height. The knees should not be forced towards the floor. You can also practise kneeling with the hips above the heels, or replace the pose with an easy cross-legged seat.
For Child’s Pose, widen the knees and place a bolster lengthways beneath the chest. This reduces the depth of knee flexion and gives the body somewhere to rest. In tabletop, put padding beneath the knees and keep the shins parallel. If kneeling remains uncomfortable, practise hands and knees over a folded blanket or choose a standing variation at the wall.
The table below offers simple adjustments for familiar movements. Treat them as starting points rather than fixed prescriptions, because comfort can change from day to day.
| Pose or movement | Common knee concern | Gentler adjustment | Useful cue |
|---|---|---|---|
| Low lunge | Front knee feels compressed | Shorten the stance and support the back knee | Keep the front heel grounded |
| Warrior II | Front knee drifts inward | Reduce the bend and narrow the stance | Track towards the second toe |
| Chair Pose | Pressure at the kneecap | Sit higher and use a wall for support | Keep feet parallel and weight even |
| Hero Pose | Deep flexion or joint pressure | Sit on a bolster or skip the pose | Never force the knees down |
| Tabletop | Discomfort from firm flooring | Add a folded blanket under the knees | Spread the fingers and soften the shoulders |
| Bridge Pose | Knees move apart or inward | Place a block between the thighs | Press evenly through both feet |
Use Breath And Pace As Alignment Tools
Alignment is easier to feel when the pace is slow enough to provide information. Moving quickly between poses can hide a knee that is drifting, a foot that has lost contact with the ground or a hip that is compensating. A slower vinyasa gives you time to pause, adjust and decide whether the next stage is appropriate.
This is the principle behind intentional pacing: choosing a speed that supports awareness instead of treating every transition as something to complete. In a knee-sensitive practice, inhale to create length, exhale to settle into a modest range and leave a breath or two between shapes.
During Sun Salutations, step rather than jump from Downward Dog to the front of the mat. Lower the knees to the floor before moving through a modified plank. You can also replace Chaturanga with knees-chest-chin, a supported plank or a pause in tabletop. There is no requirement to include every traditional transition for a sequence to be meaningful.
Breath should remain smooth and unforced. If you are holding your breath, clenching your jaw or rushing to keep up with a class, treat that as useful feedback. A practice with fewer poses and more space may support the knees better than a vigorous flow that leaves them irritated.
Effort can be measured in ways other than depth. You might notice steadiness, warmth, coordination or a clearer sense of weight distribution. People who enjoy cycling or group fitness may recognise this distinction through heart-rate training zones, where intensity is managed rather than judged by how hard one can push at every moment.
Build A Sustainable Knee-Friendly Practice
A balanced sequence can include gentle joint movements, supported strength and a calm finish. Begin with ankle circles, heel lifts, slow marching or standing weight shifts. Move into a supported chair variation, a short Warrior II, a low step-back lunge and Bridge Pose. Finish with a constructive-rest position, where the knees are bent and the feet rest on the floor, or with the legs supported on a chair.
Strength matters because the muscles around the hips and thighs help manage load. Try a small sit-to-stand from a chair, a wall-supported squat or a low bridge, keeping the movement controlled. Two or three comfortable repetitions can be enough at first. Increase time or repetitions gradually, and avoid adding several new exercises in the same week.
Recovery is part of alignment. After a long coastal walk, a hike around the Blue Mountains or an active weekend, the knees may prefer mobility and rest rather than deep stretching. In hot Australian summers, practise in a cooler part of the day, drink water and be cautious with heated classes, since fatigue can make coordination less precise.
When using online classes or downloadable resources, choose material that explains options clearly and respects different bodies. Read the details of any digital offer before downloading or purchasing; even a cashback bonus guide is a reminder that terms, eligibility and conditions matter when navigating Australian online content. A trustworthy yoga resource should make modifications easy to find, rather than presenting one shape as suitable for everyone.
Keep a simple record of what feels supportive: the poses you changed, whether symptoms settled within a few hours and how the knees felt the following morning. Seek professional advice if pain persists, worsens, causes limping or appears with swelling, giving way, locking or a significant loss of movement. A physiotherapist can assess the whole chain from foot to hip and help you choose appropriate loading.
For your next practice, place a folded blanket beside your mat, spend five minutes with ankle and foot awareness, and complete one slow round of supported lunges without moving into pain.