

Yoga for Hip Openers With Supported Pigeon
Hip-opening yoga can feel spacious and grounding, yet deep range is not the goal. The hips contain several layers of muscle and connective tissue, and each body arrives with different proportions, joint shapes, training history and daily habits. A thoughtful sequence creates room without forcing sensation or treating discomfort as proof of progress. Learn more about Contact.
Supported pigeon is especially useful because props can reduce strain while helping you stay present. This gentle approach suits a regular home practice, a studio class in Melbourne or Sydney, or a quiet session after a long commute. The sequence below combines breathwork, mindful movement and self-compassion so hip mobility develops gradually and sustainably.
| Practice | Main purpose | Support | Sensation to seek |
|---|---|---|---|
| Reclined figure four | Warm the outer hips | Floor and hands | Mild, steady stretch |
| Low lunge | Prepare the hip flexors | Blocks or fingertips | Length through the front hip |
| Supported pigeon | Explore external rotation | Bolster, cushions or folded blankets | Spaciousness without pinching |
| Seated forward fold | Settle the nervous system | Blanket beneath the pelvis | Easy release through the back body |
| Constructive rest | Integrate the sequence | Mat and optional eye pillow | Comfortable, quiet breathing |
Why Support Matters In Hip Openers
The phrase “hip opener” can suggest that the hips are doors waiting to be pushed wider. In practice, the pelvis and thigh bones move in relationship with the spine, knees and feet. A person may have excellent mobility in one direction and limited comfort in another. Supported postures respect those differences rather than imposing a universal shape.
Pigeon pose involves substantial external rotation and flexion at the front leg. If the knee feels compressed, the pelvis tilts sharply or the breath becomes tense, the posture has moved beyond its useful edge. Raising the hips on a bolster or adding height beneath the front thigh can make the pose more accessible while keeping the knee and ankle better organised.
This is also where mindfulness changes the experience. Instead of chasing intensity, notice whether you can breathe evenly, soften your jaw and remain aware of small adjustments. The principles described in ahimsa on the mat offer a helpful framework: practise non-harming through the choices you make moment by moment.
Prepare Your Body And Space
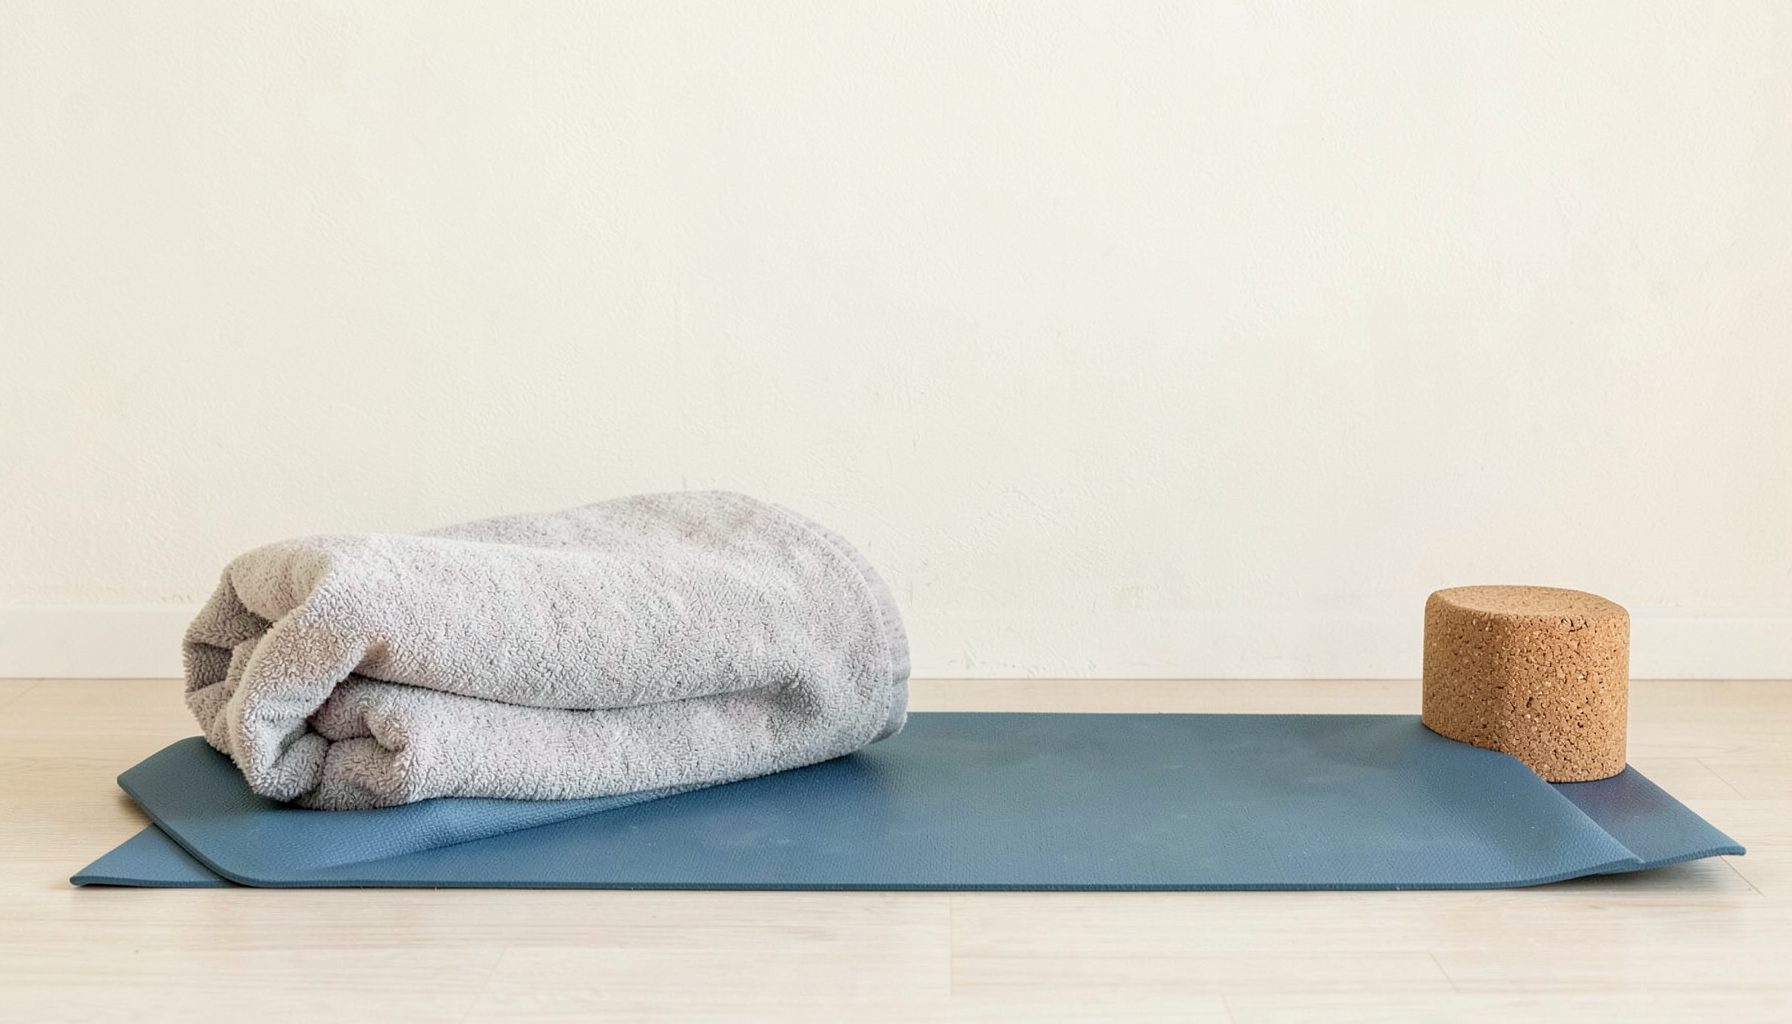
Gather a yoga mat, one firm bolster or several folded blankets, two blocks and a cushion. Australian homes can become warm quickly during summer, particularly in Brisbane or Perth, so practise away from direct sun and keep water nearby. In cooler Melbourne mornings, extra layers over the legs can help the muscles settle without encouraging you to push harder.
Begin seated or lying down and take five unhurried breaths. Let the exhalation lengthen naturally, then circle the ankles and wrists. Move through gentle pelvic tilts, knee-to-chest movements and slow windshield-wiper legs. These small actions increase body awareness and introduce movement before stillness.
If you have a recent hip, knee or lower-back injury, work with a qualified health professional or an experienced teacher before attempting pigeon. Yoga teachers in Australia are not registered health practitioners under the national health practitioner regulation scheme, so a class teacher should not diagnose an injury or promise to treat a medical condition. Stay within a comfortable, non-sharp range throughout.
Warm The Hips Gradually
Start with reclined figure four. Lie on your back, place both feet on the mat and cross the right ankle over the left thigh. Keep the right foot active, with the toes drawing gently back, and either remain still or draw the left thigh towards you. Hold for five to eight breaths, then change sides. This position provides an accessible outer-hip stretch with the pelvis supported by the floor.
Move into a low lunge with the right foot forward. Place the back knee on a folded blanket and use blocks beneath the hands. Keep the front knee tracking towards the second or third toe, then draw the tailbone down slightly as the left hip flexor lengthens. Avoid sinking heavily into the pose; imagine the pelvis floating between the legs. Take five breaths on each side.
Add a slow transition between these shapes if it feels comfortable. From hands and knees, shift the hips back towards the heels, then glide forward to a neutral tabletop. This rhythmic movement warms the knees and hips while reminding you that mobility can be explored dynamically, rather than held through force.
Set Up Supported Pigeon
From hands and knees, bring the right knee forward behind the right wrist. Slide the right foot towards the left side of the mat only as far as the knee remains comfortable. Extend the left leg back and square the pelvis as much as your structure allows. If the right side of the pelvis lifts, place a folded blanket beneath it rather than trying to press the hip down.
Position a bolster or stacked blankets lengthwise under your chest. Keep your forearms on the support, or rest your forehead on a block turned to a suitable height. The upper body should feel held, not collapsed. Your front shin does not need to be parallel with the front edge of the mat; a more angled shin is often a kinder option for the knee.
Stay for six to ten slow breaths. On each inhalation, feel the back ribs expand. On each exhalation, release unnecessary effort from the shoulders, hands and face. A moderate sensation around the outer hip or gluteal area is expected, but stop and change position if you feel sharp pain, numbness, tingling or strong pressure in the knee.
To come out, press the hands into the floor, tuck the back toes and return slowly to hands and knees. Take a few neutral movements before repeating on the left side. The two sides may feel very different, and that difference is information rather than a problem to correct immediately.
Explore Variations Without Forcing Range
If traditional pigeon does not suit your body, try a figure-four variation on your back or seated on a chair. A chair can be useful for people with sensitive knees, limited floor mobility or a practice space where getting up and down is difficult. Cross one ankle over the opposite thigh, keep the crossed foot active and hinge forward only slightly if that remains comfortable.
For a more restorative experience, place the bolster under the length of the front thigh and torso so the pose becomes almost entirely supported. You can also reduce the duration to three breaths per side and repeat the sequence later. Shorter holds often work well for people who spend much of the day at a desk, drive across suburban areas or alternate yoga with running and weekend sport.
Avoid comparing your shape with images from social media or with another person in class. Hip anatomy varies, and a deeper fold does not necessarily represent a better practice. Let your breathing, joint comfort and ability to leave the posture smoothly guide the amount of movement.
Make The Sequence Work In Daily Life
A sustainable hip mobility routine does not need to be long. Ten to twenty minutes may be enough when practised consistently. You might use the sequence after walking along the beach, following a strength session or before an evening meditation. After long periods of sitting at a computer in Canberra or travelling on public transport in Sydney, gentle movement can feel more appropriate than an intense stretching session.
The Australian yoga market includes studio memberships, community classes, retreats and downloadable resources. Choose teachers and materials that describe their scope clearly and avoid claims that a posture will cure pain or correct every structural issue. Under the Australian Consumer Law, digital products and services must meet relevant consumer guarantees, so keep records of purchases and read the provider’s terms when downloading paid resources.
Use these practical guidelines to keep your hip-opening practice steady:
- Practise on both sides, beginning with the side that feels less familiar.
- Keep the front foot active and the knee within a comfortable line.
- Use enough height beneath the pelvis to prevent twisting or collapsing.
- Leave one or two breaths before your strongest sensation.
- Choose a shorter hold when you are tired, rushed or sore from exercise.
- Finish with a neutral posture so the body can absorb the changes.
Close With Rest And Awareness
After supported pigeon, come to a comfortable seated position or lie down with the knees bent. Try a gentle twist with both knees moving from side to side, then settle into constructive rest with the feet on the mat and the arms relaxed. Notice the points of contact between your body and the floor. There is no need to measure flexibility at the end; simply observe whether the breath feels quieter or the pelvis feels more settled.
A useful home rhythm is to practise this sequence two or three times each week, leaving at least a day between longer sessions if your body is adapting to new movement. Keep the effort mild enough that you feel refreshed rather than depleted. If discomfort persists outside the practice, affects walking or sleep, or returns each time you move, pause the posture and seek individual guidance from an appropriate Australian health professional.
For your next session, set out a bolster or three folded blankets, practise five minutes of warm-up movements, hold supported pigeon for six breaths on each side, and finish with two quiet minutes of rest.