



Using a wall for supported inversions safely
A wall can make an inversion feel less like a test of strength and more like a place to explore alignment, breath and awareness. Supported handstands and forearm stands give the feet a steady reference while the hands and shoulders bear some of the load. This makes the practice more accessible for beginners, nervous students and anyone rebuilding confidence after an injury. The wall provides information rather than instructions: it shows where the feet have landed while the practitioner learns how weight actually moves through the hands, arms and shoulders.
A safe wall practice still requires preparation. The surface needs to be solid, the floor should be clean and dry, and the chosen inversion must suit the person’s health, experience and joint mobility. A wall cannot remove the demands of inversion, especially on the neck, wrists and cardiovascular system. It simply creates a supportive environment in which those demands can be approached gradually, with plenty of time to rest and an easy way back to standing.
How wall support changes an inversion
In a free-standing handstand, the hands must stabilise the whole body while the feet search for balance. Against a wall, the feet have a fixed place to arrive, reducing the need for constant correction. The hips can stack more easily over the shoulders, and the legs have somewhere to go without kicking or hopping. This feedback helps practitioners notice whether they are pushing through the fingertips, collapsing into the lower back or tightening the jaw.
Wall support also changes the mental experience of inversion. Instead of trying to control every degree of movement, the practitioner can pay closer attention to breath, spinal length and the relationship between the shoulder blades. Some people find that the wall settles the nervous system because it provides predictable contact. Others experience more sensation in the head and face at first, so the practice remains gentle when the legs are lowered and the body rests.
Inversion temporarily changes the direction of blood flow and shifts blood pressure toward the head. People with uncontrolled high blood pressure, glaucoma, significant heart conditions, recent surgery or active ear and sinus problems should seek guidance from an appropriate health professional before practising. Pregnancy, neck instability, wrist injuries, osteoporosis and shoulder disorders also warrant careful modification. Persistent headaches, visual changes, tingling, dizziness or unusual shortness of breath are reasons to come down immediately and seek medical advice.
Prepare the wall and floor
Begin by examining the wall rather than assuming it can support the practice. A solid, level surface is preferable, particularly in Australian homes where brick veneer, concrete and light internal partitions may look similar from the finished room. If the wall flexes, sounds hollow, has loose fixtures or shows cracks, it should not be used for a demanding inversion. Picture hooks, shelves and television mounts also need consideration. Apartment residents should check building or strata rules and ask permission before regular wall practice, especially when movements may create noise for neighbouring homes.
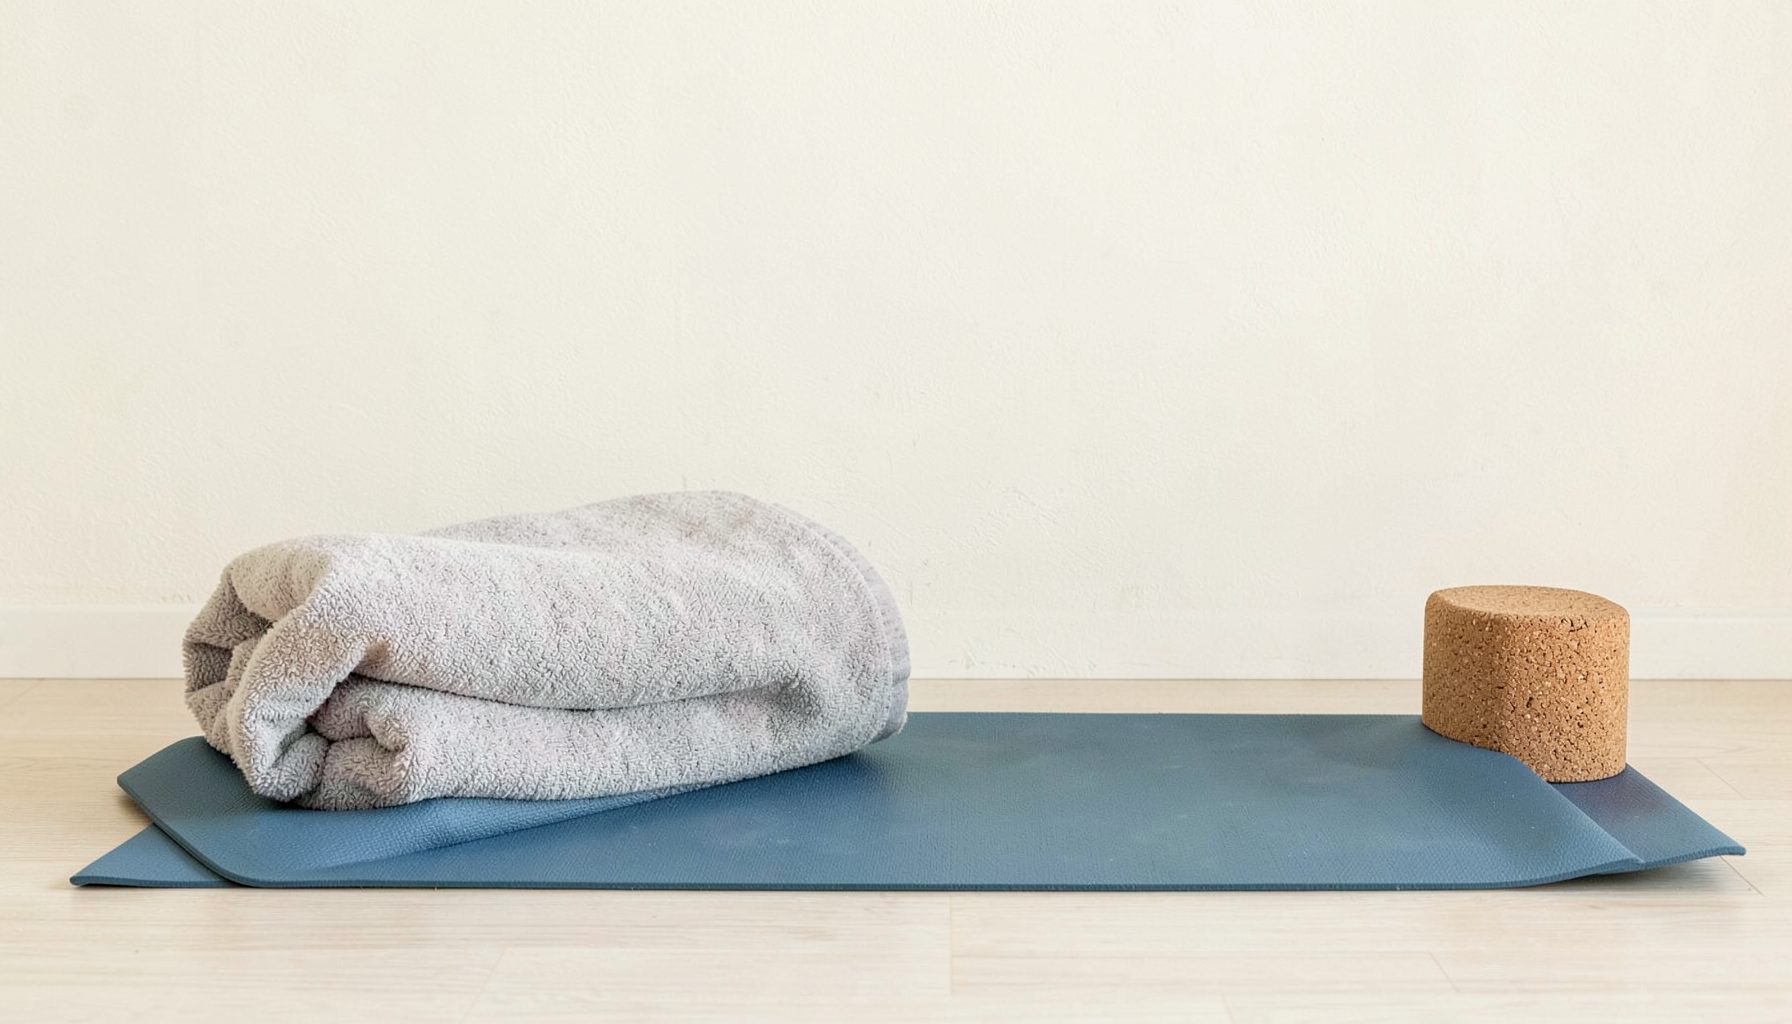
Clear enough space to raise the arms, turn the head and return to standing without hitting furniture. A non-slip yoga mat provides some cushioning and creates a predictable surface for the hands or forearms. The floor and wall should be free of dust, grit and moisture, since Australian studios often combine barefoot practice with grip socks while shared floors are cleaned frequently. Socks can become slippery against perspiring feet, so footwear choices should be tested before relying on them.
Weather also shapes the preparation. During humid summer days in Sydney, Melbourne, Brisbane or Perth, an indoor room may become slippery as bodies warm up, even when the studio has air conditioning. A dry towel, water within reach and a cooler room can make the practice more comfortable. In cooler months, warming the wrists and shoulders before standing at the wall prevents the first position from feeling stiff. Community halls, boutique studios, online classes and retreat programmes form a familiar part of Australia’s yoga market, and good teachers normally check the room, identify hazards and adapt the activity for the people present.
Choose an inversion that fits your body
A wall handstand is a useful starting point for many practitioners. Place the hands shoulder-width apart, spread the fingers and turn the palms down or slightly outward. One foot can press into the wall first, followed by the other, until the legs lengthen and the hips move closer to the shoulders. There is no need to kick up aggressively. A slow step or float is often easier to control than a jump, particularly when the wrists, shoulders or lower back are still getting familiar with the position.
Forearm stands offer another route, although they place more direct emphasis on the shoulders. The elbows sit comfortably apart, the forearms rest on the mat and the crown of the head stays clear. Many people find that they need to work harder to keep the lower ribs contained and the shoulders from pressing towards the ears. If the shoulders are sensitive, a legs-up-the-wall position provides an accessible inversion with much less load through the wrists and neck. It still offers the calming effect of being inverted and can help the practitioner notice breathing changes without introducing complex balance demands.
A wall-supported headstand should not be treated as an automatic next step after a handstand. The neck remains vulnerable even when the wall takes the weight of the legs, and a beginner may not have the shoulder control required to enter and exit safely. If an experienced teacher is guiding the practice, the neck should remain long rather than taking the body’s full weight abruptly. People who have been told to avoid headstands or inversions for medical reasons should follow that advice, regardless of how simple the wall makes the shape appear.
Feedback can make progression safer. A qualified instructor can observe how the wrists move, where the shoulders settle and whether the person can leave the inversion without strain. Those who prefer in-person guidance can explore studio yoga classes or ask a local teacher to demonstrate an entry suitable for their experience. Recorded practices and retreats can also support revision between classes, although they work best when the student already knows how to modify the position and recognise signs of overload.
Refine the entry, breath and exit
Most wall inversions become uncomfortable when the practitioner tries to make them look complete. Hips need not touch the wall, heels need not meet, and the legs may remain bent. Forcing a straight line can create tension through the lower back and shoulders. Keep the ribs drawn in gently, lengthen the spine and allow the legs to rise only as far as the body can manage without holding the breath.
The breath provides a simple guide to effort. During entry, inhale through the nose if that feels natural, then exhale as the feet find the wall. In a steady hold, the breath can become quiet and even without forcing a specific pattern. Rising shoulders or tightening the jaw often accompany an excessively long hold. Bending the knees and stepping one foot down can release the pressure while the body reorganises. A controlled exit matters as much as the inversion itself, especially for the wrists and neck.
Lower-back and hip symptoms require care rather than a determination to practise through them. A wall may reduce the balancing demand, but it does not make an inappropriate inversion suitable. Camille Dodson Yoga offers a sciatica release sequence for readers who want gentler movement for those areas. Nerve pain that travels down the leg, numbness, weakness or loss of bladder or bowel control needs medical assessment rather than yoga experimentation. Even ordinary lower-back pain should be assessed by a qualified professional if it persists or worsens.
Build a sustainable wall practice
A short, repeatable routine is usually more useful than chasing longer holds. Begin on the floor with easy breathing, then prepare the wrists and shoulders with rotations, tabletop reaches and a gentle downward-facing stretch. Choose one inversion, practise a comfortable entry, hold only while the breathing remains smooth, and leave the position with control. Rest before repeating. Wall sitting, a supported forward fold or legs-up-the-wall can provide a calm transition back to upright movement.
Consistency also means stopping when attention becomes strained. A two- or three-minute supported practice can teach useful alignment without creating fatigue that carries into the rest of the day. Teachers in Australian studios are expected to manage risks under the applicable state or territory work health and safety legislation; for example, Safe Work Australia guidance and New South Wales’s Work Health and Safety Act 2011 support hazard assessment, suitable instruction, first-aid preparation and clear incident procedures. The same ordinary care applies at home, where changing the plan is part of responsible practice.
Before the next session, place the mat beside the wall, set a five-minute timer and record one comfortable inversion, its intended number of breaths and the sign that tells you it is time to come down.