


Three Gentle Hip Openers for Sitting All Day
Hours at a desk, behind a steering wheel, or on a sofa can leave the hips feeling compressed and restless. The body remains in a bent position while the hip flexors, glutes, and outer hips receive very little varied movement. You may notice stiffness when standing, a dull ache around the low back, or a sense that your first few steps are less fluid than usual.
Gentle yoga can bring space and awareness back to this area without forcing a deep stretch. The following movements are suitable for many beginners because they use steady breathing, modest ranges of motion, and optional support. Their purpose is to help you reconnect with your body, rather than to achieve a particular shape.
These three gentle hip openers for sitting all day can fit into a short morning routine, a workday reset, or an evening wind-down. Move slowly, stay below the point of strain, and treat comfort as useful information throughout the practice.
Why Long Sitting Changes How Hips Feel
When you sit, the hips stay flexed for an extended period. The hip flexors remain shortened, while the gluteal muscles are relatively quiet. This does not mean that sitting permanently damages your hips, but it can make the transition from stillness to movement feel awkward. The pelvis and lower spine may also compensate when the hips are not moving freely.
Long periods of sitting can affect more than the hips themselves. Limited movement may contribute to tension in the hamstrings, lower back, and outer thighs. Some people feel tightness at the front of the pelvis, while others notice heaviness around the sacroiliac area or a mild pulling sensation when walking upstairs.
A useful response is frequent, comfortable movement rather than an occasional intense stretch. A few minutes of hip mobility between tasks can be more approachable and sustainable than waiting until the end of a long day. Breath-led movement also gives you a chance to notice whether your body needs steadiness, gentle activation, or rest.
Prepare Your Body With Care
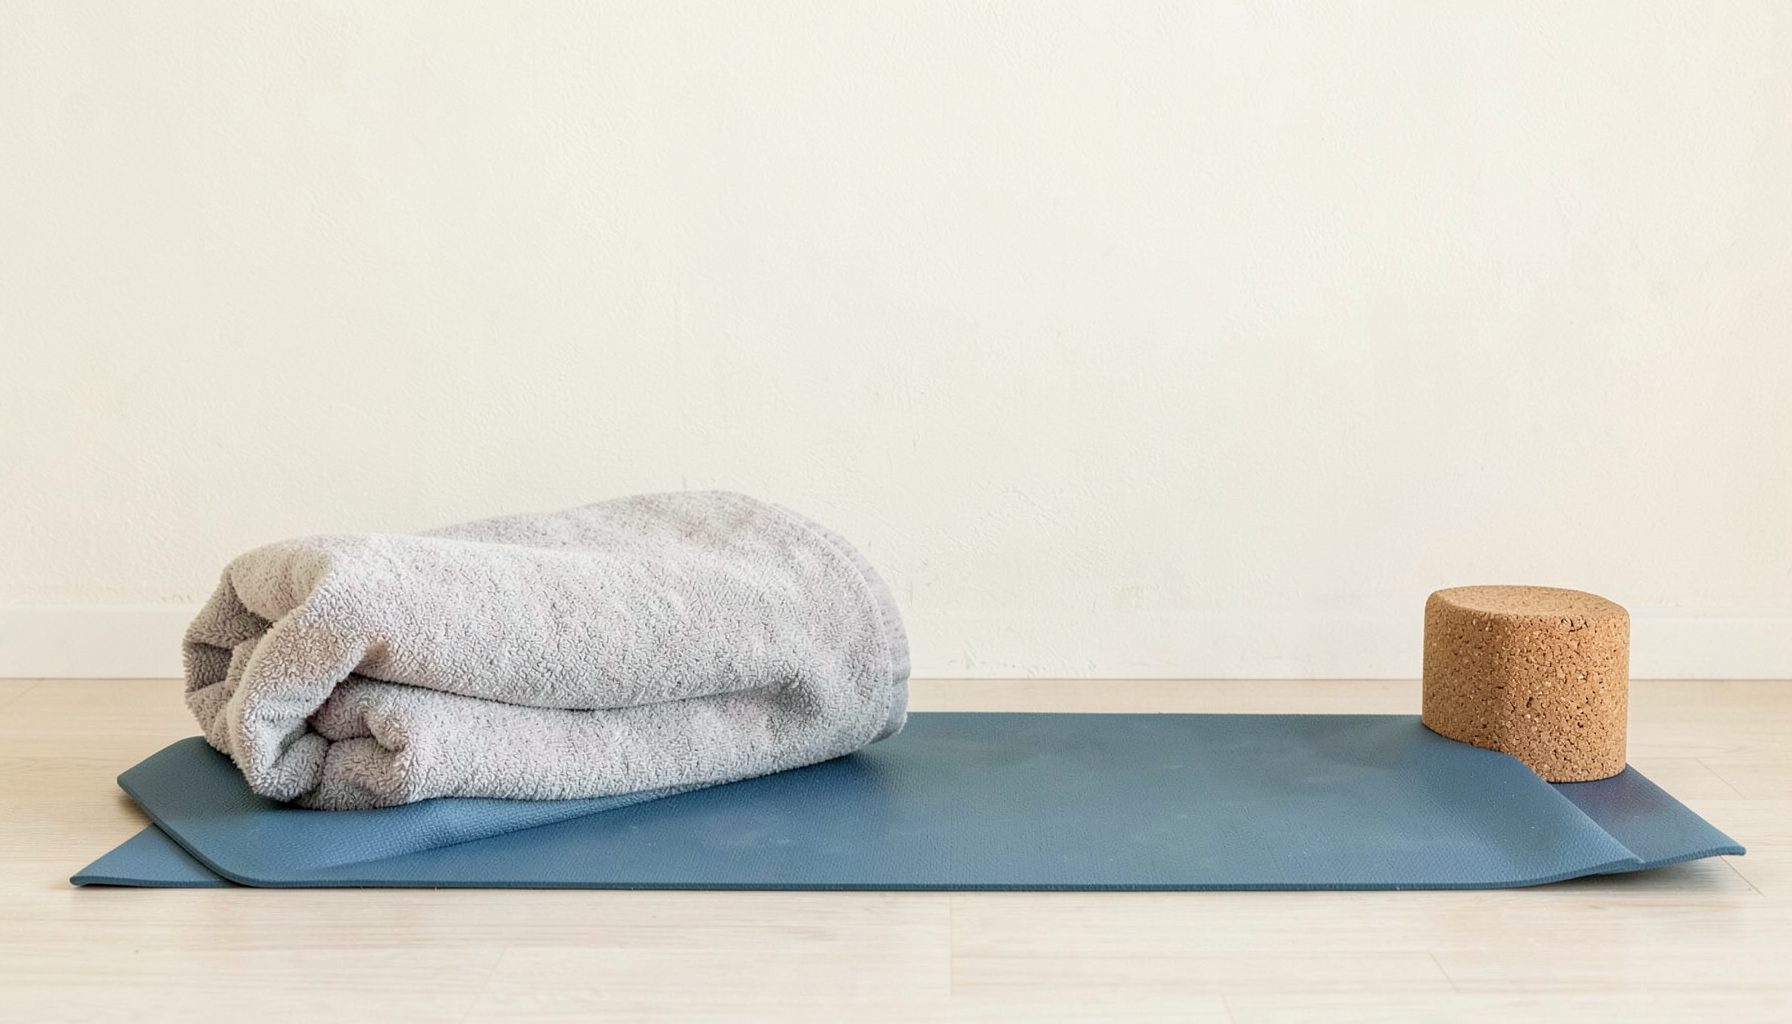
Choose a warm, reasonably quiet space and use a folded blanket, cushion, or firm pillow nearby. Support can reduce the effort required to hold a position, allowing your attention to settle on breathing and sensation. If you are practicing at work, even a stable chair can make these movements accessible.
Begin with a minute of easy movement. Roll the shoulders, circle the ankles, or slowly tilt the pelvis while seated. You might stand and walk around the room before coming to the floor. These simple actions increase circulation and make it easier to distinguish a mild stretch from a sharp or unfamiliar sensation.
Keep the breath relaxed, especially on the exhale. A sensation of lengthening, warmth, or mild resistance is generally appropriate. Stop or change the position if you feel pinching in the groin, numbness, tingling, sudden pain, or pressure in the knee. Anyone managing an injury, pregnancy-related concern, or ongoing joint condition should adapt the practice with guidance from a qualified healthcare professional.
Supported Figure Four
Begin seated on a chair or on the edge of a cushion. Place both feet on the floor, then cross your right ankle over your left thigh. Flex the right foot gently, as though pressing the sole toward the wall, and allow the right knee to move away from you without pushing it down.
Keep your spine easy rather than forcing yourself to sit perfectly upright. If the pelvis tucks under or the back rounds, raise your seat on a folded blanket or remain in the chair version. Rest one hand on the thigh and one hand on the chair or floor for balance. You can stay still, or make very small movements that tip the pelvis forward and back.
For a stronger variation, hinge forward from the hips while keeping the back long. The movement should come from the hip crease, not from collapsing through the chest. Breathe for five to eight slow cycles, then return to upright and uncross the legs. Repeat on the other side, noticing whether one outer hip feels more guarded.
This shape targets the outer hip and gluteal region, where stiffness may build during desk work. It is also easy to practice during a break without needing a yoga mat. If the top knee feels uncomfortable, reduce the angle by bringing the ankle closer to the opposite hip or keep the foot lower on the shin.
Low Lunge With Support
Come to hands and knees on a mat or carpet. Step your right foot forward between your hands, placing the foot slightly wider than the hip if that gives your pelvis more room. Slide the left knee back only as far as you can maintain a calm breath, then place a folded blanket beneath it if the floor feels hard.
Lift your chest gradually and rest your hands on blocks, books, or your front thigh. Instead of sinking toward the floor, imagine drawing the lower ribs gently toward the pelvis. This keeps the pose spacious and reduces the tendency to compress the lower back. The stretch should be felt primarily at the front of the left hip and upper thigh.
Stay for five breaths, allowing the exhale to soften unnecessary gripping. You may tuck the back toes for a little more stability or keep them relaxed. To leave the posture, lower your hands, shift the hips back, and return to hands and knees before changing sides.
The low lunge is especially useful after sitting because it introduces length to the hip flexors in a supported standing-like position. It also asks the glutes and abdominal muscles to participate, which can help you feel more stable when you rise from a chair. Keep the range moderate; a deeper lunge is not automatically more effective.
| Movement | Helpful For | Main Support | Suggested Time |
|---|---|---|---|
| Seated figure four | Outer hips and glutes | Chair or cushion | 5–8 breaths per side |
| Supported low lunge | Front of the hip and thigh | Blanket, blocks, or chair | 5 breaths per side |
| Reclined bound angle | Inner thighs and nervous system settling | Cushions under knees | 2–5 minutes |
Reclined Bound Angle
Lie on your back with your knees bent and your feet resting on the floor. Bring the soles of the feet together and let the knees open toward the sides. Place a cushion, rolled blanket, or yoga block beneath each thigh so the legs feel held rather than suspended.
Allow your arms to rest beside you or place one hand on the belly and one over the heart. Notice the back of your pelvis meeting the floor. If your lower back feels strained, move the feet farther away from the pelvis or keep the knees slightly higher. You can also practice with the legs supported on a chair if lying flat is not comfortable.
Remain for two to five minutes, breathing naturally. On each exhale, soften the jaw, shoulders, and inner thighs without trying to push the knees toward the ground. The pose offers a quiet way to explore hip mobility while the rest of the body receives support.
This reclining posture may be a good choice after a demanding workday because it combines a gentle inner-thigh opening with a restful position. It does not need to look symmetrical or deep. The best setup is the one that lets you stay present and breathe without monitoring discomfort.
Make Movement Part Of The Workday
A short mobility practice works best when it is connected to something you already do. Try the seated figure four after closing your laptop, the low lunge before a shower, or the reclined position before bed. Linking movement to an existing routine removes the pressure to find a large, uninterrupted block of time.
You can also use small transitions as opportunities for hip care. Stand while taking a phone call, walk to refill your water, or gently shift your weight from one foot to the other while waiting for a page to load. These actions do not replace focused practice, but they interrupt prolonged stillness and give your joints more variety.
Aim for ease and consistency rather than intensity. A five-minute sequence practiced most days may feel more supportive than a long session that leaves you sore and discouraged. Camille’s approach to yoga centers mindfulness, self-compassion, and an accessible relationship with movement, values that can guide your choices here.
A Gentle Routine To Return To
You can combine the three postures into a simple sequence. Start with the seated figure four to explore the outer hips, move into the supported low lunge for the front of each hip, and finish with reclined bound angle. Take a few neutral breaths between sides and poses so your body has time to register each change.
Use the following recommendations to keep the practice comfortable and sustainable:
- Practice when your body feels reasonably warm, or begin with a short walk and easy joint movements.
- Hold each posture for a few breaths before deciding whether to stay longer.
- Use cushions, blankets, blocks, or a chair before you feel you need them.
- Keep the stretch mild enough that your breathing remains smooth and unforced.
- Finish with a few relaxed steps and notice how standing feels compared with the beginning.
Pay attention to what changes over time. You may notice that standing up feels smoother, your stride becomes more comfortable, or your attention returns more easily after a work break. You may also discover that one side needs extra support or that a particular position feels better at a different time of day. These observations are part of the practice.
If any movement repeatedly creates pain, remove it from the sequence and seek individual guidance. Gentle yoga is adaptable: you can change the position, reduce the duration, practice in a chair, or choose a restorative alternative. Progress can mean feeling more informed about your body, not reaching a deeper range.
Let these movements become a quiet invitation to interrupt stillness and care for your hips with patience. Set aside a few minutes today, gather the support you need, and move through the sequence with steady breathing and kind attention. Over time, those small pauses can help your workday feel more spacious and your personal practice more connected to everyday life.