


Five Ways to Modify Downward Dog for Tender Wrists
Downward-Facing Dog, or Adho Mukha Svanasana, can feel spacious and restorative when the hands, shoulders, and spine share the work. When your wrists are tender, however, the pose may create distracting pressure before you have time to notice the benefits. A sensitive joint does not mean you need to leave this shape out of your practice.
Small changes can reduce wrist extension, spread weight through more of the body, and make the posture feel steadier. The best modification is the one that lets you breathe smoothly without bracing, gripping, or ignoring sharp discomfort. Use these options as invitations rather than rules, and move slowly enough to notice how your wrists respond.
Begin With A Supportive Setup
Before changing the pose itself, take a moment to organize your foundation. Place your hands slightly wider than shoulder distance, spread your fingers, and press through the pads beneath your fingers as well as the base of your index fingers and thumbs. Keep the knuckles grounded while gently lifting the inner arches of your palms. This creates active support without forcing your wrists into the floor.
Your hands do not need to point perfectly forward if that position feels strained. Turning the fingers slightly outward can be more comfortable for some people, while others prefer a completely neutral hand position with the palms on angled supports. Keep the elbows soft rather than locked, and imagine the upper arms rotating outward as the shoulder blades move away from the ears.
A tender wrist may also be responding to more than Downward Dog itself. Notice whether the same sensitivity appears in plank, tabletop, or when rising from the floor. Warm up with wrist circles, gentle fist-to-palm movements, and a few breaths in a comfortable tabletop before adding weight.
Shift More Weight Into Your Legs
The first modification is simple: make Downward Dog a leg-and-spine posture rather than a test of upper-body endurance. From hands and knees, tuck your toes and lift your hips only as high as you can while keeping your spine long. Bend your knees generously, especially if straightening the legs causes your chest to collapse toward the floor.
Walk your feet slightly closer to your hands if that gives you more space to send the hips back. Then press the floor away and draw your sitting bones upward. Your heels do not need to touch the mat. A lifted heel and softly bent knee are often signs that you are adapting intelligently, not performing the pose incorrectly.
You can also practice short repetitions: lift into Downward Dog for one or two breaths, return to tabletop, and repeat several times. This builds awareness of weight distribution without asking your wrists to sustain a long hold. Keep your breath even, and stop before fatigue makes you sink into the joints.
Practice With Your Hands On Blocks
Yoga blocks can raise the floor and reduce the amount of wrist extension required. Place one block under each hand on its lowest or middle height, depending on your balance and the stability of the blocks. Position the long edges parallel to the front of your mat, then test the setup with a gentle forward lean before lifting your hips.
With the hands elevated, you may feel more room through the wrists and greater length through the sides of the body. Press firmly into the blocks, keeping your fingers spread and your shoulders broad. If the blocks feel unstable, place them against a wall or choose a lower height. Never use a prop that shifts when you place weight on it.
Some practitioners prefer gripping the sides of sturdy blocks rather than placing the palms flat. This can create a more neutral wrist angle, though it requires careful attention to balance. Keep the blocks close enough that you can step out easily, and use a non-slip surface beneath them.
| Modification | How It Changes The Pose | Useful For | Main Cue |
|---|---|---|---|
| Bent knees | Moves effort toward the legs and reduces spinal rounding | Tight hamstrings or fatigue | Lift the hips without forcing the heels down |
| Hands on blocks | Raises the hands and decreases wrist extension | Mild wrist sensitivity | Press evenly through the whole hand |
| Fists | Places the wrist in a more neutral position | Discomfort with a flat palm | Keep the knuckles stable and shoulders relaxed |
| Forearms down | Removes most weight from the wrists | Greater wrist tenderness | Lengthen through the crown of the head |
| Wall variation | Transfers weight away from the hands | Beginners or flare-ups | Keep the spine long and step back gradually |
Make Fists Or Use Neutral Wrists
Forming soft fists can be helpful when a flat palm feels uncomfortable. Place the fists on the mat with the knuckles facing each other or pointing forward, depending on what feels stable. Keep the wrists straight rather than letting them bend sideways, and distribute pressure across the knuckles without clenching.
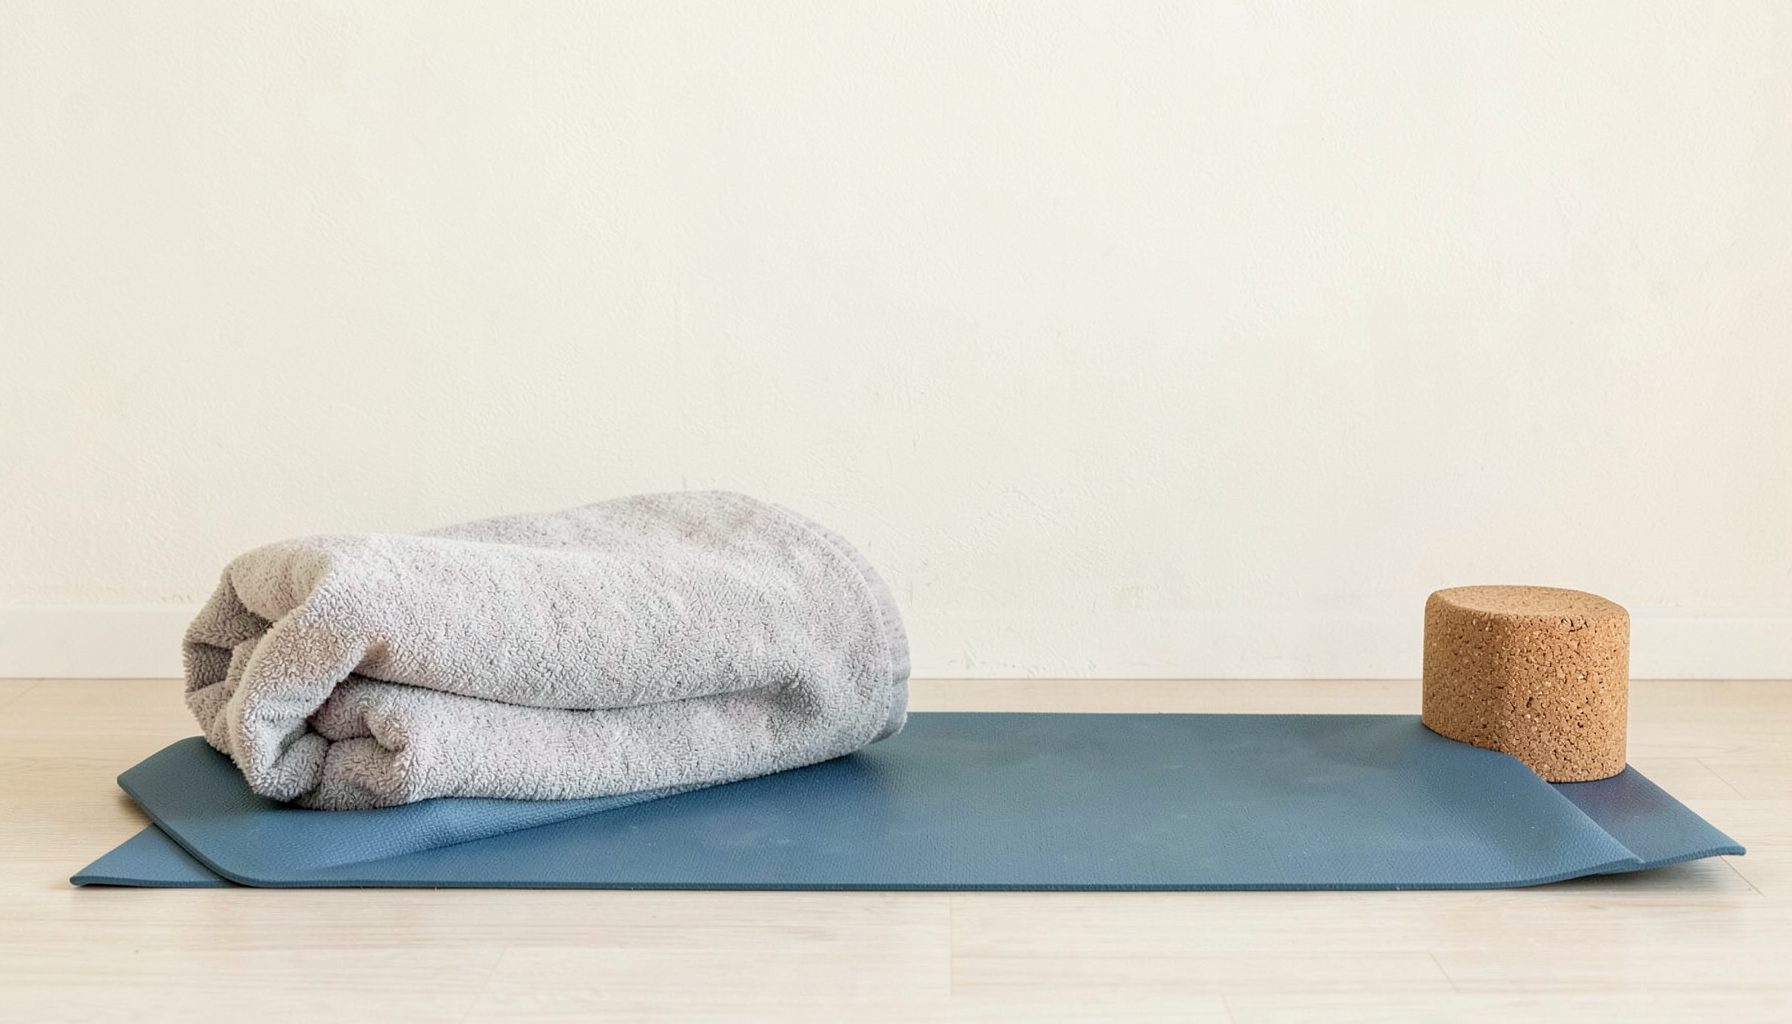
From tabletop, test one hand at a time before lifting the hips. If the knuckles or finger joints feel irritated, add a folded blanket beneath them for cushioning. A folded mat can also reduce pressure, although too much softness may make the wrists less stable.
Another option is to hold dumbbell-shaped yoga handles or sturdy parallettes designed for weight-bearing exercise. These supports allow the hands to remain in a neutral position and may be useful for people who experience wrist pain during palm-based poses. Use equipment intended for bodyweight support, and keep the range of motion modest while you learn how it feels.
Lower To Your Forearms
Forearm Downward Dog removes much of the angle from the wrists while preserving the lengthening qualities of the posture. From tabletop, lower your forearms to the mat with your elbows beneath or slightly ahead of your shoulders. Spread your fingers or interlace them, then tuck your toes and lift your hips.
This variation asks more from the shoulders, upper back, and core, so it is not automatically easier. Keep the elbows from sliding outward, and press down through the forearms as you draw the hips up and back. If your shoulders feel compressed, lower your knees and practice the shape from a modified tabletop instead.
You can place a block between your hands and gently press the palms around it if interlacing the fingers feels awkward. Keep your head lifted enough that the neck remains comfortable, and avoid turning this option into a deep shoulder stretch. Two or three calm breaths may be enough at first.
Use A Wall For A Standing Version
A wall variation offers the strongest reduction in wrist loading because your hands can remain at shoulder or chest height. Stand facing the wall with your palms placed against it, fingers pointing upward or slightly outward. Step your feet back until your torso forms a diagonal line, then send your hips away from the wall.
Press the wall firmly while lengthening through the spine. Bend your knees if your hamstrings pull you into a rounded back. The farther you walk your feet away, the more demanding the shape becomes, so begin close to the wall and adjust gradually.
For a different arrangement, place your hands on the wall at hip height and hinge back with a flat back. This resembles Downward Dog without requiring the hands to bear your full body weight. It is a useful option during a wrist flare-up, at work, or when practicing in a small space.
Choose The Right Variation For The Day
Wrist comfort can change with sleep, repetitive hand use, strength training, hormones, temperature, and previous injuries. There is no need to commit to the same version every time you practice. You might use the wall variation on a sensitive day, blocks when you want a familiar shape, and the full posture when your hands feel strong and comfortable.
As you explore, watch for signals that call for a pause: sharp pain, tingling, numbness, swelling, or discomfort that continues after you leave the pose. Muscle effort around the shoulders and forearms can be expected, but joint pain deserves attention. Step back to tabletop or rest in Child’s Pose, keeping the wrists neutral if that is more comfortable.
A sustainable yoga practice leaves room for adaptation. The goal is not to prove that you can tolerate a particular alignment. It is to find a version of Downward Dog that supports breathing, awareness, and steady movement while respecting your body’s current needs.
Build A Wrist-Friendly Practice
Try these recommendations as you include modified Downward Dog in a broader sequence:
- Warm the hands, wrists, shoulders, and upper back before placing weight through the palms.
- Start with three to five slow breaths rather than holding the pose until the wrists become tired.
- Alternate weight-bearing poses with standing postures, seated breathing, or gentle hip openers.
- Keep blocks, a folded blanket, or a wall option nearby so changing the pose feels easy.
- Seek professional guidance for persistent pain, recent injury, numbness, or reduced wrist strength.
A modification should make your practice more available, not create another standard to meet. Notice which option gives you the clearest breath and the least gripping, then return to that version without judgment. Over time, careful repetition may build strength and confidence, but comfort remains the priority.
If you would like support adapting your yoga practice to your body, get in touch to explore a gentle, mindful approach. You can carry these wrist-friendly choices into classes, home sequences, and everyday movement, creating a practice that meets you where you are today.